How to Build a Cybersecurity Home Lab on Any Budget
Learn how to build a cybersecurity home lab from free to advanced setups. Step-by-step guide covering VirtualBox, Kali Linux, Metasploitable, Security Onion, and pfSense for hands-on security practice.
- Defense
- Detection
- Skills
- Mindset
- Confidence
TL;DR
A cybersecurity home lab is the single most effective way to build real security skills without risking production systems. You can start for free using VirtualBox with Kali Linux and Metasploitable 2 on any computer with 8 GB of RAM. Mid-range setups add used enterprise hardware for always-on monitoring with tools like Security Onion. Advanced labs introduce segmented networks with firewalls, dedicated attack and defense subnets, and full IDS/IPS integration. Every professional who works in network security built their skills by breaking things in a lab first.
It was 11 PM on a Tuesday when Elena, a university student in Milan with zero security experience, decided she was going to learn cybersecurity. She had read every blog post, watched every YouTube tutorial, and memorized acronyms she had never seen in action. But when she sat down to apply for an internship and the interviewer asked her to describe a time she had identified a vulnerability, she froze. She had never touched a real system. She had theory without practice, knowledge without proof.
That night, Elena downloaded VirtualBox on her five year old laptop, installed Kali Linux, and booted Metasploitable 2 as a target. Her first Nmap scan returned a wall of open ports she did not understand. She Googled every one. She tried to exploit an FTP service and crashed her virtual machine. She rebuilt it in four minutes. By 2 AM she had successfully exploited her first vulnerability, a misconfigured Samba share that gave her remote shell access. It was not impressive by professional standards. But for the first time, she understood what a vulnerability actually felt like in practice rather than in theory.
Three months later, Elena walked into her next interview with a documented portfolio of lab exercises, network diagrams she had built herself, and screenshots of attacks she had executed and then defended against. She got the internship. The lab cost her nothing except time and electricity.
Why Every Cybersecurity Career Starts in a Lab
Reading about penetration testing without practicing it is like reading about swimming without getting in the water. You understand the theory, but you cannot do the thing. A home lab gives you a safe, legal, repeatable environment where mistakes are free and experimentation is encouraged.
According to SANS Institute workforce research, 78% of hired cybersecurity candidates had hands-on lab experience listed on their resume or demonstrated during interviews. Hiring managers consistently rank practical skills above certifications alone. A lab transforms abstract knowledge into demonstrable capability.
The other advantage is iteration speed. When you misconfigure a firewall rule in production, the consequences are real. When you misconfigure one in your lab, you snapshot, revert, and try again. You can break the same system fifty times in an afternoon, each time learning something new about how defenses fail and how attackers think.
The Free Tier: Your First Lab for $0
You do not need to spend a single dollar to build a functional cybersecurity lab. If you have a computer with 8 GB of RAM, a quad-core processor, and 100 GB of free disk space, you already have everything you need.
Step 1: Install a Hypervisor
Download and install VirtualBox from Oracle. It is free, open source, and runs on Windows, macOS, and Linux. VirtualBox supports up to 32 virtual CPUs per VM and handles the networking configurations that security labs require, including internal networks that are completely isolated from your home network.
VMware Workstation Player is a free alternative on Windows and Linux, but it limits you to running one VM at a time unless you upgrade to the paid Pro version. For a security lab where you need an attacker machine and a target running simultaneously, VirtualBox is the better free option.
Step 2: Set Up Your Attack Machine (Kali Linux)
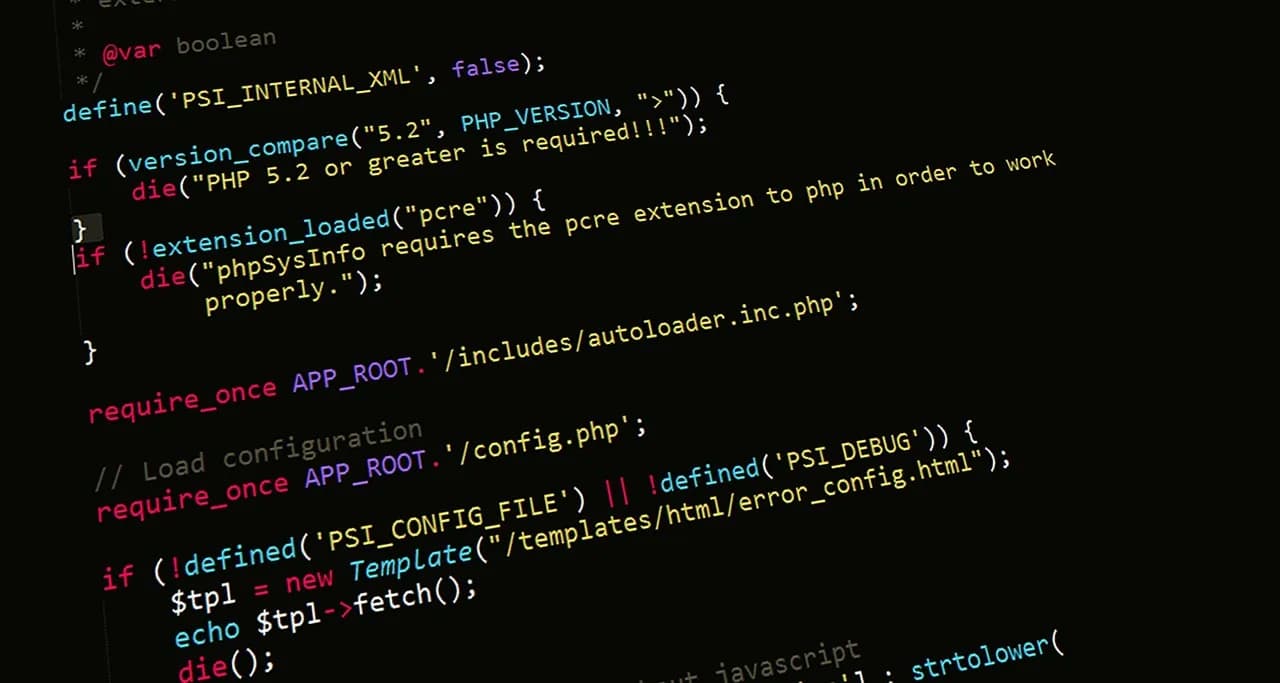
Kali Linux is the standard operating system for penetration testing and security research. It comes preloaded with over 600 security tools, including Nmap, Metasploit, Burp Suite, Wireshark, and John the Ripper. Download the VirtualBox image directly from the Kali website. It imports in under five minutes.
Allocate at least 2 GB of RAM and 2 CPU cores to your Kali VM. The default credentials are kali / kali. Change the password immediately after first boot. Update the system with sudo apt update && sudo apt upgrade before doing anything else.
Step 3: Deploy Your First Target (Metasploitable 2)
Metasploitable 2 is an intentionally vulnerable Linux virtual machine created by the OffSec team. It contains over 30 vulnerable services, including misconfigured FTP, SSH, Samba, HTTP, and database services. It is specifically designed to be attacked.
Download Metasploitable 2 from VulnHub. Import the VMDK file into VirtualBox. Allocate 512 MB of RAM. This machine is lightweight by design.
Step 4: Add a Web Application Target (DVWA)
The Damn Vulnerable Web Application (DVWA) runs inside a simple Apache/PHP/MySQL stack and provides a browser based interface for practicing web attacks. It covers SQL injection, cross-site scripting (XSS), file inclusion, command injection, and more. You can install DVWA on your Metasploitable VM or deploy it as a separate lightweight VM using the official Docker image.
Step 5: Configure Networking
This is where most beginners make mistakes. In VirtualBox, set up a "Host-Only" network. Go to File, then Host Network Manager, and create a new host-only adapter (e.g., vboxnet0). Assign each VM's network adapter to this host-only network. This creates an isolated subnet where your VMs can communicate with each other and with your host machine, but they cannot reach the internet or your home network.
Your free tier network topology looks like this:
Host Machine (your laptop)
  │
  └── vboxnet0 (Host-Only Network: 192.168.56.0/24)
        │
        ├── Kali Linux (Attacker)     → 192.168.56.101
        ├── Metasploitable 2 (Target) → 192.168.56.102
        └── DVWA (Web Target)         → 192.168.56.103
Verify connectivity by pinging between VMs. From Kali, run ping 192.168.56.102. If it responds, your lab is operational.
The Mid Tier: Dedicated Hardware ($100 to $300)
Once you outgrow virtual machines on your laptop, used enterprise hardware unlocks capabilities that software alone cannot provide. The mid tier adds persistence (your lab runs 24/7), more RAM for complex scenarios, and the ability to monitor real network traffic.
Used Enterprise Hardware
Search eBay, local classified ads, or refurbished IT retailers for the following:
Dell OptiPlex or HP EliteDesk mini desktops ($40 to $80 each). Models from 2018 to 2020 with Intel i5 processors, 8 to 16 GB of RAM, and 256 GB SSDs are common. These make excellent always-on servers for hosting vulnerable VMs, running Security Onion, or acting as dedicated target machines.
Managed network switch ($20 to $40). A used Cisco Catalyst 2960 or TP-Link managed switch gives you VLAN support, port mirroring (for traffic capture), and real switch configuration experience that VirtualBox internal networking cannot replicate.
Raspberry Pi 4 ($35 to $55). Useful as a lightweight DNS server (Pi-hole), a network monitoring probe, or a target running vulnerable IoT firmware.
Security Onion: Your Free SOC in a Box
Security Onion is a free Linux distribution built for network security monitoring, intrusion detection, and log management. It bundles Suricata (IDS/IPS), Zeek (network analysis), and the Elastic Stack (log storage and visualization) into a single deployable platform.
Install Security Onion on one of your used desktops with at least 12 GB of RAM (16 GB recommended). Configure it in "standalone" mode for a home lab. Point a managed switch's mirror port at the Security Onion machine so it can inspect all traffic flowing between your attack and target VMs.
With Security Onion running, every Nmap scan, every exploit attempt, every brute force attack you launch from Kali generates real alerts in the IDS dashboard. You see what defenders see. This is the bridge between offensive and defensive skills.
Mid Tier Network Topology
Internet
  │
  └── Home Router (192.168.1.0/24)
        │
        └── Managed Switch (VLANs)
              │
              ├── VLAN 10 (Attack)     → Kali Linux: 10.0.10.101
              ├── VLAN 20 (Targets)    → Metasploitable: 10.0.20.101
              │                         → DVWA: 10.0.20.102
              │                         → Windows VM: 10.0.20.103
              ├── VLAN 30 (Monitoring) → Security Onion: 10.0.30.101
              └── Mirror Port          → Copies all VLAN traffic to Security Onion
The Advanced Tier: A Full Security Ecosystem ($500+)
The advanced tier replicates a small enterprise network. It introduces a dedicated firewall, network segmentation, a domain controller, and enough targets to simulate realistic attack scenarios.
pfSense: Your Lab Firewall and Router
pfSense is a free, open source firewall and router platform based on FreeBSD. Install it on a small desktop or thin client with two or more network interfaces. pfSense handles routing between your lab VLANs, enforces firewall rules between segments, runs Snort or Suricata as an inline IDS/IPS, and logs all traffic for forensic analysis.
pfSense can run on hardware with as little as 512 MB of RAM, making $15 used thin clients viable firewall appliances. For a lab with multiple VLANs and IDS enabled, allocate 2 to 4 GB of RAM.
Build a Realistic Target Network
Beyond Metasploitable and DVWA, the advanced tier adds:
Windows Server (evaluation copy, free for 180 days from Microsoft). Set up Active Directory, create user accounts, configure Group Policy, and practice attacking domain environments. Most enterprise networks run on Active Directory, making this essential practice.
Ubuntu Server running vulnerable web applications from OWASP (WebGoat, Juice Shop). These simulate real-world application vulnerabilities in a modern stack.
Additional targets from VulnHub. VulnHub hosts hundreds of free vulnerable VMs of varying difficulty levels. Download a new one each week, attack it without reading walkthroughs, then compare your approach to published solutions.
Advanced Network Topology
Internet
  │
  └── pfSense Firewall/Router
        │
        ├── WAN (Home Router)
        ├── LAN 1 — Attack Subnet (10.10.1.0/24)
        │     ├── Kali Linux
        │     └── Parrot Security OS
        ├── LAN 2 — Target Subnet (10.10.2.0/24)
        │     ├── Metasploitable 2/3
        │     ├── DVWA
        │     ├── Windows Server (AD)
        │     ├── WebGoat / Juice Shop
        │     └── VulnHub VMs (rotating)
        ├── LAN 3 — Monitoring Subnet (10.10.3.0/24)
        │     ├── Security Onion
        │     └── Wazuh (host-based IDS)
        └── DMZ (10.10.4.0/24)
              └── Honeypot (optional)
pfSense firewall rules control which subnets can communicate. The attack subnet can reach targets but not monitoring. The monitoring subnet sees all traffic via mirror ports but initiates no connections. This mirrors how production networks segment trust zones.
What to Practice in Your Lab
Building the lab is only step one. The value comes from structured practice. Here is a progression that develops marketable skills:
Week 1 to 2: Reconnaissance and Scanning. Use Nmap from Kali to enumerate every service on Metasploitable. Document each open port, the running service, and its version number. Learn to read Nmap output as a story about the target system.
Week 3 to 4: Vulnerability Exploitation. Use Metasploit Framework to exploit the vulnerable services you discovered. Start with the easiest targets (vsftpd 2.3.4 backdoor, UnrealIRCd backdoor) and progress to more complex ones (Java RMI, Tomcat manager).
Week 5 to 6: Web Application Attacks. Switch to DVWA and practice SQL injection, XSS, and file upload vulnerabilities at increasing difficulty levels. Understand not just how to exploit them, but how to detect malware payloads and malicious input at the application layer.
Week 7 to 8: Network Traffic Analysis. Capture traffic with Wireshark during your attacks. Learn to identify scan patterns, exploit payloads, and command and control traffic in packet captures. Pair this with our Wireshark tutorial for structured practice.
Week 9 to 10: Defense and Detection. Shift to the blue team side. Review Security Onion alerts generated by your attacks. Write custom Suricata rules to detect specific attack patterns. Build dashboards that surface the indicators of compromise you now know how to generate.
Week 11 to 12: Documentation and Reporting. Write penetration test reports for each target you compromised. Include findings, evidence, risk ratings, and remediation recommendations. This is the deliverable that clients and employers actually care about.
Common Mistakes to Avoid
Buying hardware before building skills. Start with the free tier. Spend three months practicing before you invest money. Many people buy $500 in hardware, set it up once, and never use it again. Prove to yourself that you will use the lab before you scale it.
Skipping networking fundamentals. If you do not understand subnetting, TCP/IP, and DNS, your lab will constantly confuse you. Spend time learning Linux commands for cybersecurity and basic networking before diving into exploitation.
Forgetting to snapshot. Before every major change or attack, take a VM snapshot. When something breaks (and it will), reverting to a clean snapshot takes seconds. Rebuilding from scratch takes hours.
Never switching to defense. Attacking systems is exciting. Defending them is where the jobs are. Force yourself to spend equal time on both sides. Set up Security Onion, review alerts, write detection rules, and practice incident response procedures.
From Lab to Career
A well-documented home lab is one of the strongest assets on a cybersecurity resume. It demonstrates initiative, technical ability, and the self-directed learning that this field demands. When you can walk an interviewer through your network topology, explain why you segmented your VLANs the way you did, and show detection rules you wrote to catch your own attacks, you stand out from candidates who only have certifications.
The path from zero experience to running a multi-subnet security lab is entirely achievable on any budget. Elena started with a five year old laptop and VirtualBox on a Tuesday night. Within three months, she had a documented portfolio that landed her an internship. The tools are free. The knowledge is free. The only investment is your time and willingness to break things, learn from the failure, and try again.
If you are serious about a cybersecurity career without a degree, a home lab is your strongest proof of competence. Start tonight. Download VirtualBox. Install Kali. Boot Metasploitable. Run your first scan. Everything else follows from there.

Daute built Unihackers after a decade defending airlines, managed SOCs and international organisations. He is an Associate C|CISO and a regular voice on AI and cybersecurity in international media. Silver Winner at the 2021 Cyber Security Excellence Awards. He teaches the way he wishes someone had taught him: skip the noise, train on what attackers actually do, and graduate people who are useful from day one.
View ProfileReady to Start Your Cybersecurity Career?
Join hundreds of professionals who've transitioned into cybersecurity with our hands-on bootcamp.